How to Make DIY Foam Letters

DIY Large Letters Made from Polystyrene Foam:
Step-by-Step Guide
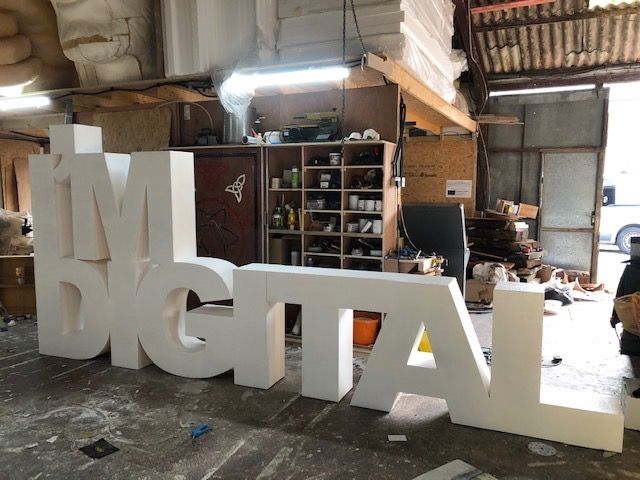
Creating large letters from foam is a fun and rewarding DIY project that allows you to personalise your space and make a bold statement. Whether you want to decorate a party, wedding, or any other event, these lightweight and versatile foam letters are the perfect choice. Follow this step-by-step guide to bring your DIY large letter project to life.
Before we start let’s talk about what foam is right for you (or skip 6 paragraphs down)
Polystyrene, commonly referred to as EPS (Expanded Polystyrene) or Styrofoam, is a popular material known for its lightweight and insulating properties. While EPS and Styrofoam are often used interchangeably, it’s important to understand the subtle differences between the two.
EPS is a type of foam made from expanded polystyrene beads. It is widely used in various applications, including packaging, insulation, construction, and crafting. EPS foam is created by expanding polystyrene beads using steam and then moulding them into the desired shape. It is known for its excellent thermal insulation, moisture resistance, and durability.
On the other hand, Styrofoam is a trademarked brand of extruded polystyrene foam developed by The Dow Chemical Company. It is a closed-cell foam with a smooth surface and is commonly used for insulation, packaging, and crafting. Styrofoam is created by extruding polystyrene through a specialized process, resulting in a denser and more rigid foam compared to EPS.
When it comes to cutting, EPS foam is generally easier to work with due to its softer and more forgiving nature. It can be easily cut using various tools such as hot wire foam cutters, utility knives, saws, or even scissors. EPS foam allows for clean and precise cuts, making it suitable for detailed projects and intricate designs.
Styrofoam, being denser and more rigid, requires sharper and stronger tools for cutting. Hot wire foam cutters or serrated knives are commonly used to cut through Styrofoam. However, caution must be exercised as the dense nature of Styrofoam can cause the foam to splinter or create rough edges if not cut properly.
In summary, EPS foam (Polystyrene) and Styrofoam (extruded polystyrene) are both types of foam with unique characteristics and applications. EPS foam is generally easier to cut and work with, offering versatility and precision. Styrofoam, while denser and more rigid, requires more specialized tools for cutting. Understanding these differences will help you choose the right foam for your specific project and ensure successful and efficient cutting.
Materials Needed:
- Polystyrene foam sheets or blocks
- Pencil or marker
- Ruler or measuring tape
- Hot wire foam cutter or sharp utility knife
- Sandpaper or sanding block
- Acrylic paint or spray paint
- Paintbrushes or spray paint nozzles
- Polyurethane hard coating (optional)
- Adhesive suitable for foam or mounting hardware
- Safety goggles and gloves
Step 1: Design and Planning Begin by deciding on the size and font of your large letters. Using a pencil or marker, sketch the letter shapes on the polystyrene foam sheets or blocks. Ensure that the dimensions and proportions are to your liking.
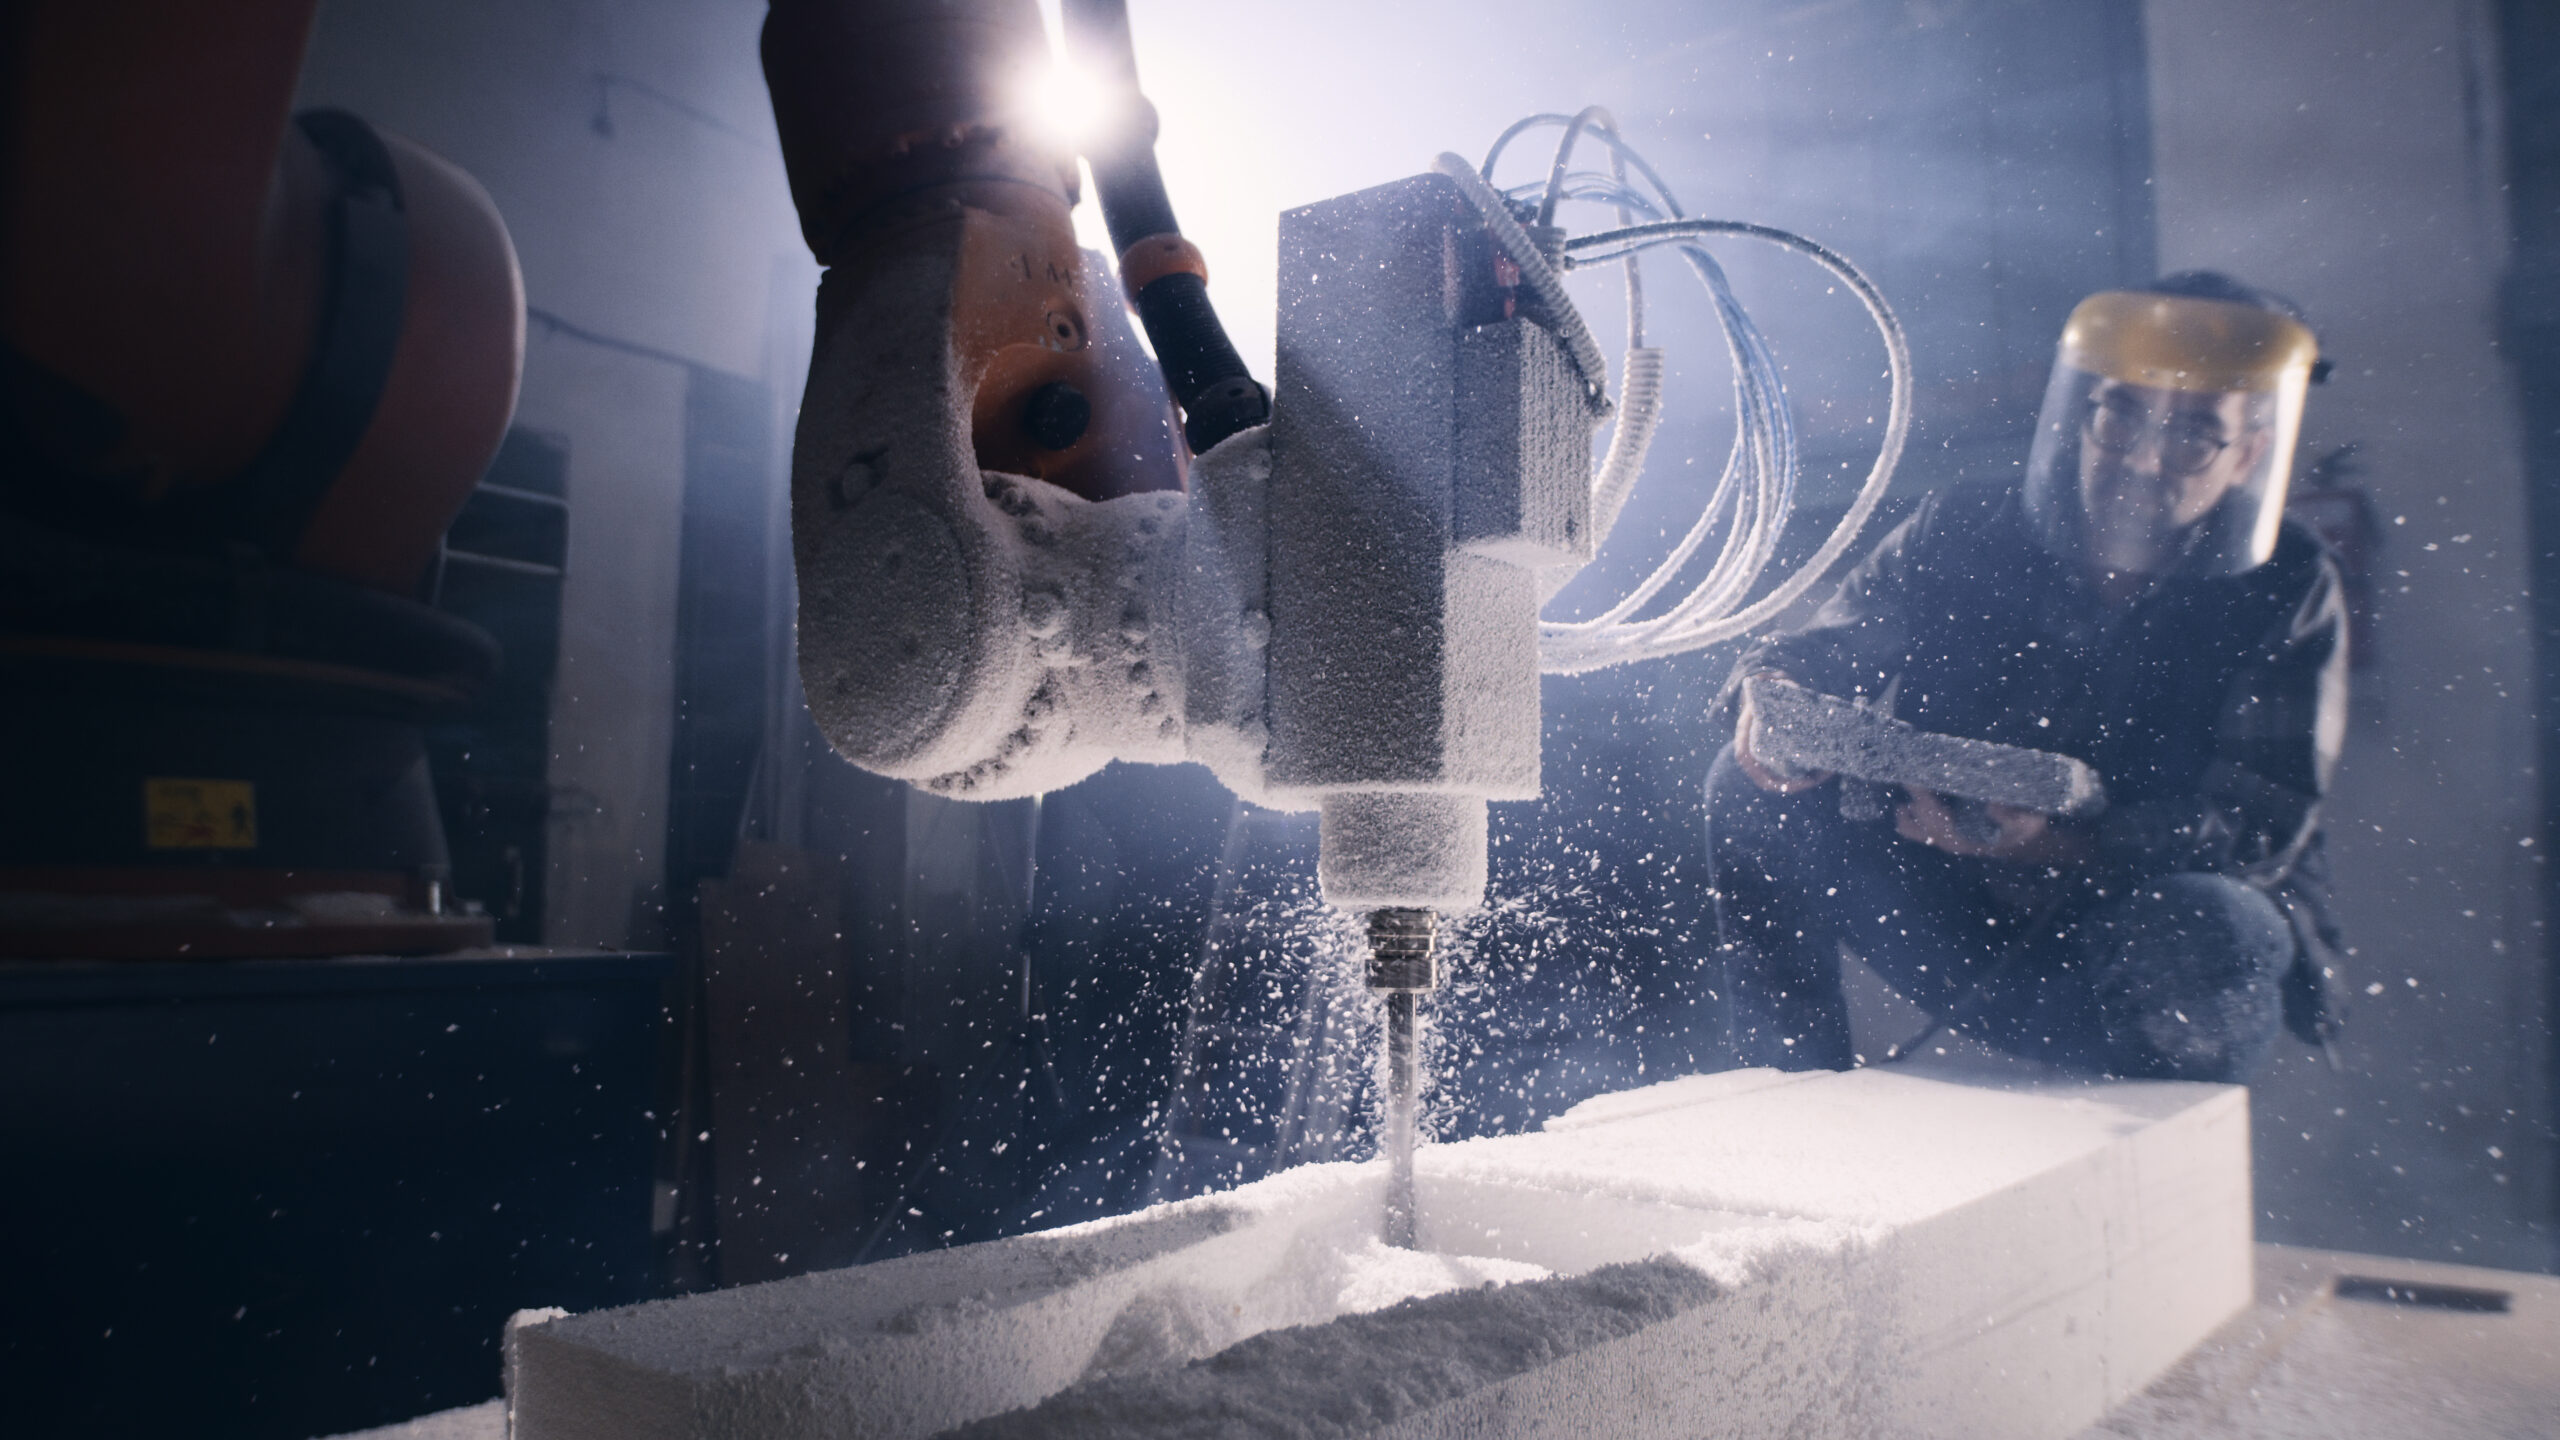
Step 2: Cutting the Foam Using a hot wire foam cutter or a sharp utility knife, carefully cut out the letters along the sketched lines. Take your time to make clean and precise cuts, ensuring that the edges are smooth.
Step 3: Smoothing and Shaping After cutting the letters, use sandpaper or a sanding block to smooth the edges and surfaces. This step helps achieve a polished and professional finish for your foam letters. Be gentle and avoid applying too much pressure to prevent damaging the foam.
Step 4: Painting Now it’s time to unleash your creativity by painting the foam letters. Choose your preferred colours and apply the paint using paintbrushes or spray paint nozzles. Consider using acrylic paint or spray paint, as they adhere well to foam surfaces. Please note if you would like it hard coated you will need to paint it with expo resin or polyurethane hard coating )
Step 5: Optional Coating For added durability and a glossy finish, you can apply a polyurethane hard coating to the painted foam letters. This protective coating helps prevent chipping and enhances the longevity of your DIY project.
Step 6: Installation Decide on the placement and method of installation for your large foam letters. If you’re using adhesive suitable for foam, apply it to the back of each letter and press firmly onto the desired surface. Alternatively, you can use mounting hardware, such as brackets or hooks, to securely attach the letters to walls or other structures.
Safety First people :
- Wear safety goggles and gloves when cutting and sanding the foam to protect your eyes and hands.
- Work in a well-ventilated area or wear a mask when painting to avoid inhaling fumes.
- Take breaks as needed to prevent hand fatigue when using the hot wire foam cutter or utility knife.
Tips:
- Experiment with different paint colours, textures, and finishes to achieve the desired look for your foam letters.
- Consider adding additional embellishments, such as glitter or adhesive gems, to enhance the visual appeal of your letters.
- Prioritize safety when handling tools and materials, and follow manufacturer instructions for any products used.
With this step-by-step guide, you’re ready to embark on your DIY adventure and create impressive large letters from polystyrene foam. Let your creativity soar and enjoy the process of bringing your personalised foam letter project to life and most importantly have fun.
This video is useful to make a foam cutting table by a YouTuber called Tunah81 to the video
We also can make you foam letter just contact us. Contact


